Bread Bondas
After making the baked bean and egg toasties, I had some leftover bread and some leftover potato curry. So I thought I would make a few Bread Bondas.
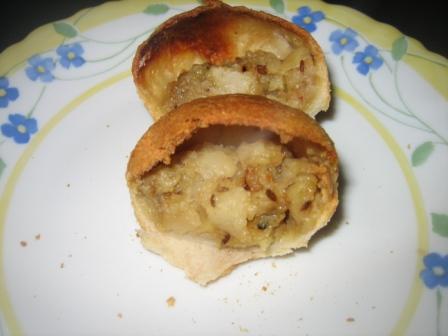
This recipe I learnt from a family friend, Sathyavathi aunty. She actually deep fried it and it tastes much better fried but the fat content hits the sky. And since I had the toasties going on I thought I would see what happens if I make it in the oven. Well it isn't golden brown and the bread pretty much became a biscuit but it was OK. If you want to splurge a bit then definately try it fried.
Bread Bondas
Ingredients
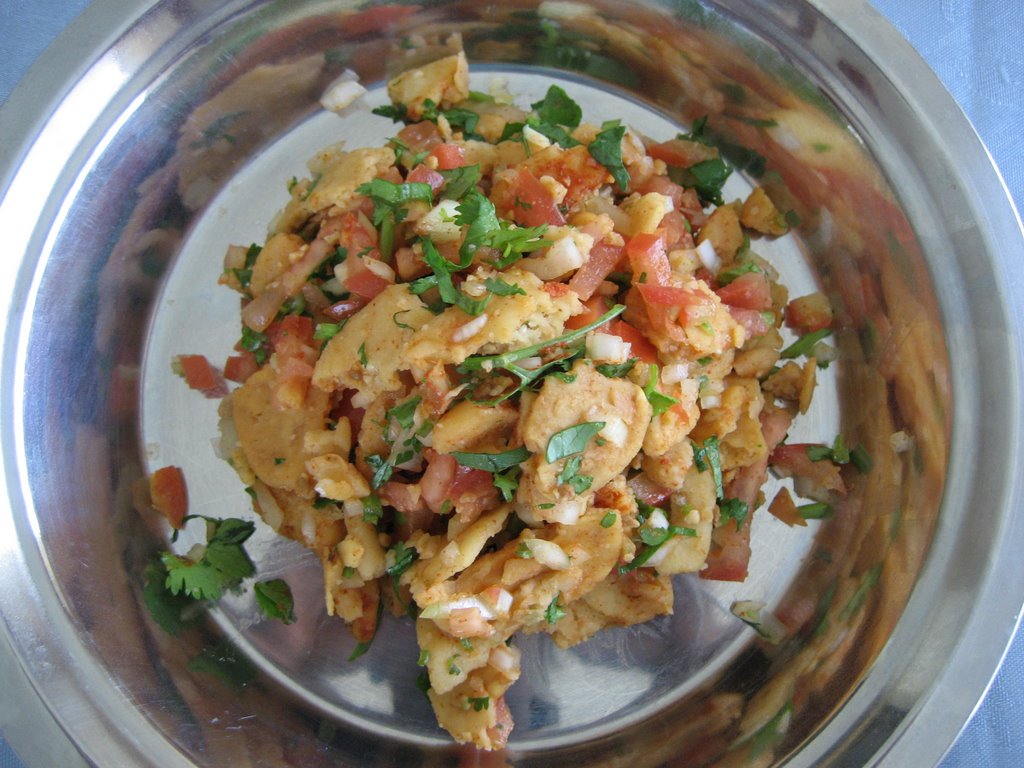
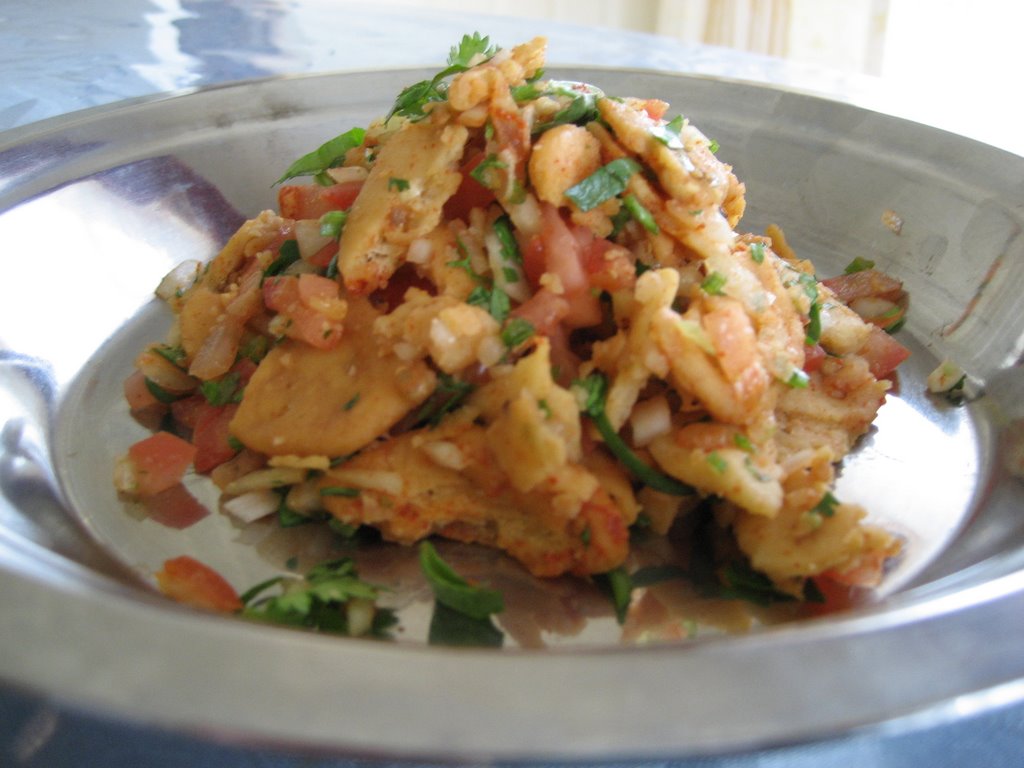
Some curry/filling- I used potato curry but any dry curry will work.
1 bread slice- a day old is preferred with crusts removed. Btw 1 bread slice per bonda. So depends on how much curry you have.
Method
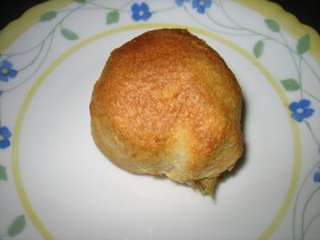

This recipe I learnt from a family friend, Sathyavathi aunty. She actually deep fried it and it tastes much better fried but the fat content hits the sky. And since I had the toasties going on I thought I would see what happens if I make it in the oven. Well it isn't golden brown and the bread pretty much became a biscuit but it was OK. If you want to splurge a bit then definately try it fried.
Bread Bondas
Ingredients
Some curry/filling- I used potato curry but any dry curry will work.
1 bread slice- a day old is preferred with crusts removed. Btw 1 bread slice per bonda. So depends on how much curry you have.
Method
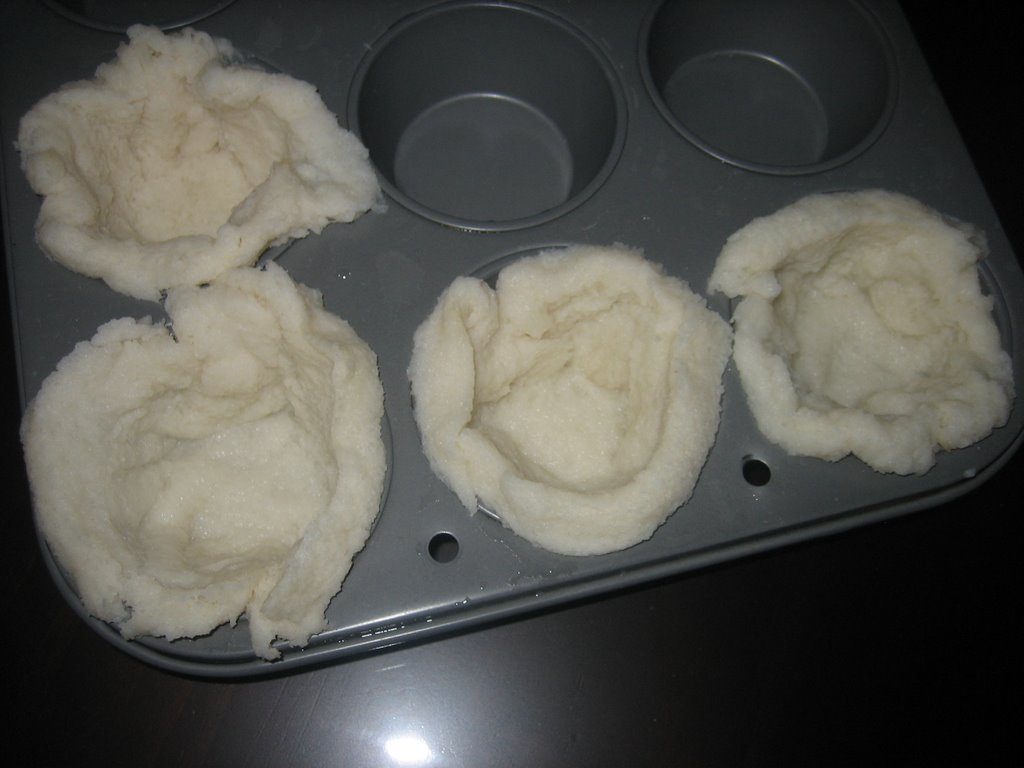
- Like the toasties, wet the bread and squeeze the excess water.
- Now take a bit of the curry, rolled in a ball and carefully wrap it with the bread.
- Take care that all the joins a properly covered.
- Deep fry until golden brown or bake until the bread is dry on the outside.

posted by Praveena at 11/13/2006 12:52:00 pm
186 comments
![]()