Kanpur Chapathi
I know what you are thinking. It is just like all the other adventures I embark upon. After the inital 'honeymoon' phase of about a week, and the excitment dies down, another hobby of mine gets put onto the shelf of unfinished projects. I guess food blogging isn't really a project, but an ongoing hobby, I thought I would stick to it for more than I have.
Don't get me wrong, when ever I have time I will read all the other blogs but writing mine is bit of a pain. As I don't have access to this blog at work, my options are limited to writing all of this from home. And I have to admit I am a big couch potato. Thus I usually just come home and sit in front of the TV. However now that I have a laptop I am doing this whilst sitting in front of the TV.
But I'll admit to the real reason that I have continued to write these blogs. Actually there is two. It is a brilliant way to index all the recipes that I have and like. Currently I have a big folder that I have just printed off recipes for various sources and stored them in. This is good as I can also search for recipes I like.
But the more important reason is that even though I have written only a few posts, I am getting apprieciation from people that I know and people that I don't know. Friends are using the recipes I put up and strangers (well my new 'friends' from the blogging world' are giving me encourgement. People like Saffron Hut thought my choice of blog name was good! :)
Anyway the real purpose of this blog, Kanpur Chapathi. The point where my mum wants me to make a dish as she thinks I can make it better or doesn't know how to make it, is the point that I truly believe that I have mastered the skill of cooking (well not mastered but aleast I can say I can now cook!) This is one dish that my mum loves.
I came across this for the first time when I went to India. I had visited many of my husband's family (for the first time) and we visited one my husband's cousin's who made this for me. And I just ate as many as I could with no hesitation (in Telugu there is a saying, "siggu ley kunda"). I soon found out that even my mother in law can make this. So when she came over to visit, it was the first thing I asked her to make.
So back to the actual dish. It is a quite a simple dish if you think about. It is a bit fiddly but worth it. And as a bonus you don't really have to make a curry to go along with it.
Kanpur Chapathi
Ingredients
2 cups Wholemeal flour (Atta)
1 cup fresh fenugreek leaves- chopped.
1 cup fresh or frozen coconut
1 1/2 cups onions - finely chopped. When I mean finely I mean finely as you won't be able to roll it out the chapathi if it is not finely.
salt
chilli powder
oil
Method
- Mix the atta as would for normal chapathi. This means add a bit of salt and enough water to make a firm dough.
- Mix salt, chilli powder and oil into a smooth paste.
- Mix the onions, fenugreek leaves and coconut in a bowl.
- Roll out two lumps (about the size of lemon) of the dough into a puri size (this is probably about the size of a CD)
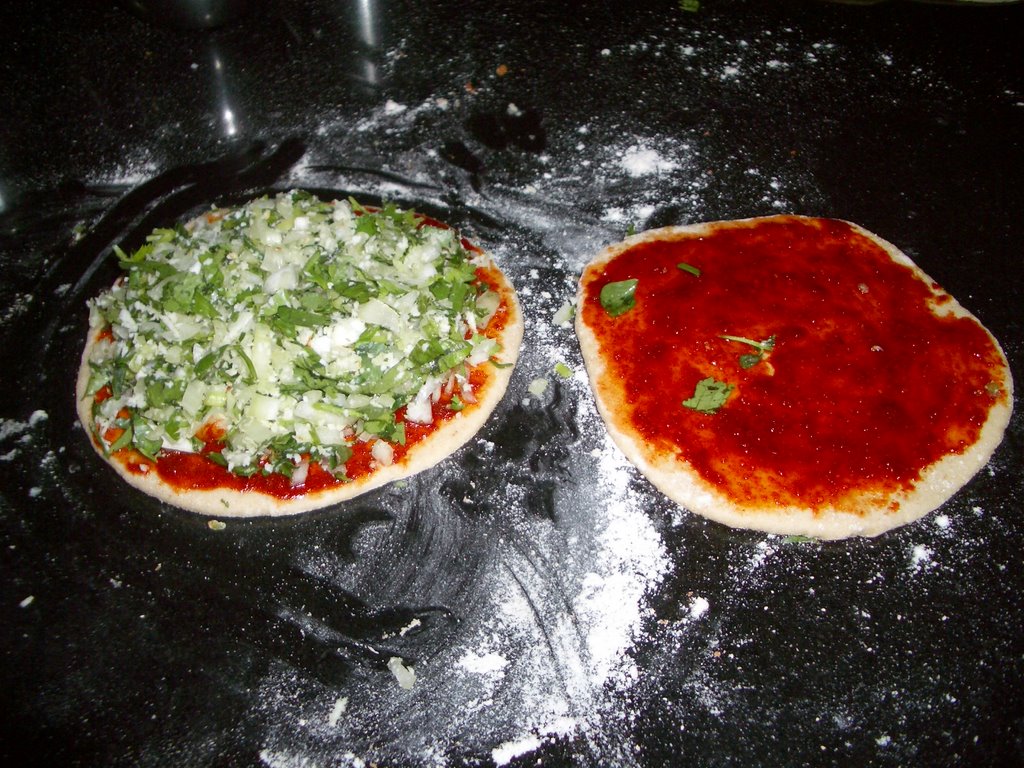
- Spread the salt, chilli paste onto the two puris.
- Put a little bit of the fenugreek leaves, coconut and onions mixture onto one of the puris.

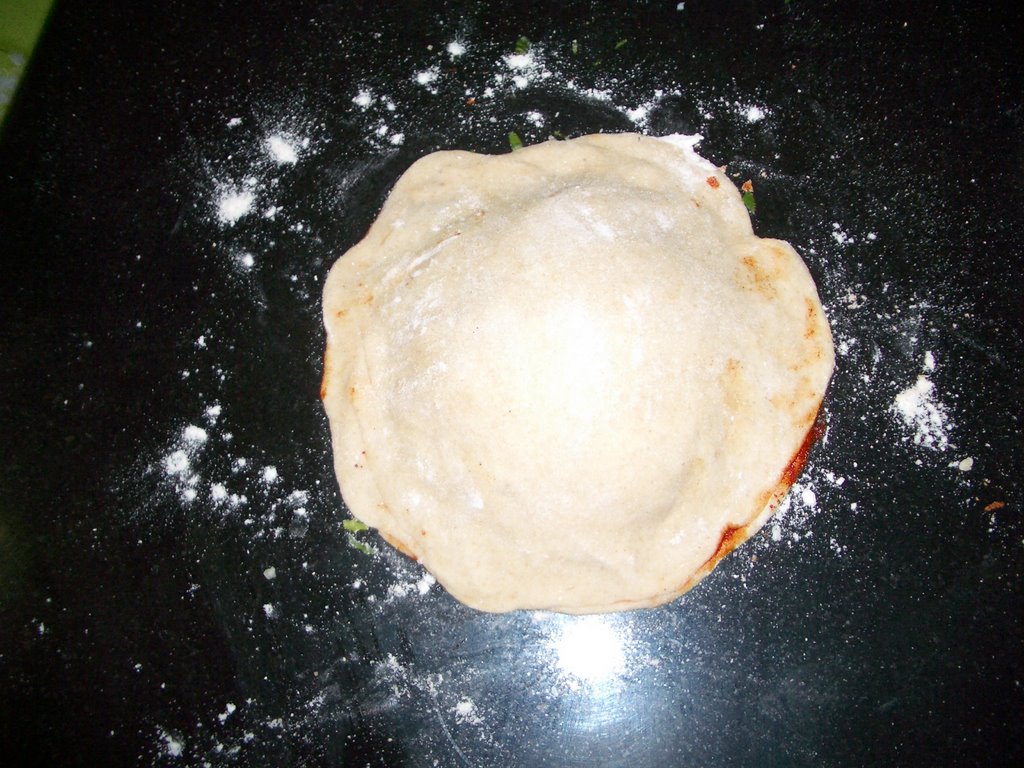
- Now take the other puri and put it on top of the filled puri and seal it. This part is a bit tricky but with a little practice it ain't too bad.

- Now roll it out and toast it on a pan over a low heat on both sides.

And after making this, it was sooooo inviting that I forgot to take a photo of the finished product! - When eating it, you can split it and put some lemon juice. It is sort of up to you. I like it with though.

posted by Praveena at 10/14/2006 06:34:00 pm
116 comments
![]()